
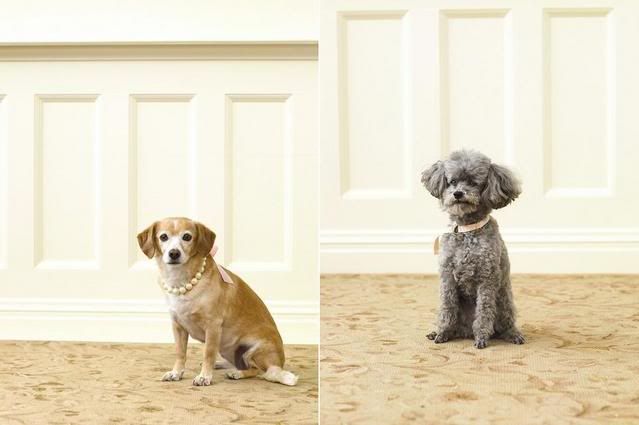
{(L) pearl collar; (R) D-ring collar}
Making a pearl collar
- Measure loosely around dog’s neck; add 12 inches to total.
- Thread 18-mm faux pearls (3/4-inch wide) onto embroidery ribbon. Knot ribbon at each end close to pearls.
- Knot strand loosely around dog’s neck.
- Cut 2-inch-wide satin ribbon to be 1 yard long; tie around ribbon into a big bow at the back; trim ends on an angle.
Making a D-ring collar
- Measure dog’s neck, and add 8 inches; cut grosgrain ribbon to final length.
- Lay face up, and fold one end under by 4 inches. For a buckle, thread two D rings onto ribbon, and slide them all the way to the fold. For a loop to attach leash, thread on another D ring, sliding it to 2 inches from the buckle.
- Slip a 2-inch piece of fusible webbing between layers of ribbon, between buckle and loop, and another between the layers after the loop. Iron to fuse. At other end, fold edge over toward front of collar, and secure with a small piece of fusible tape.
- To buckle, thread end through both D rings, then back through the bottom one, and pull loose end to tighten.
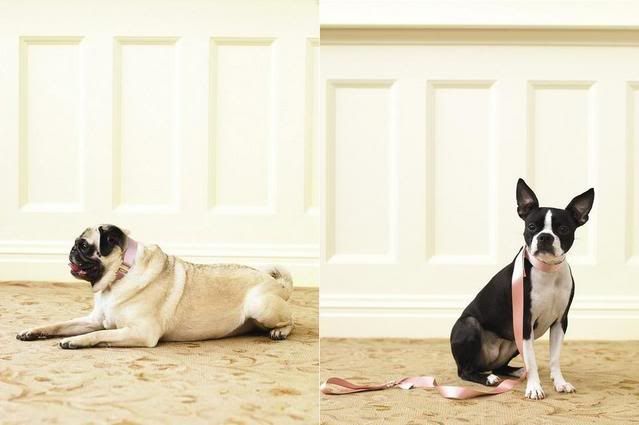
{(L) velcro-clasp collar, (R) velcro-clasp collar and leash}
Making a Velcro clasp collar
- For collar, measure dog’s neck, and add 6 inches; cut 24-mm satin ribbon to final length.
- Slip 3 inches of ribbon through one side of buckle from the front; use fusible tape to attach ribbon to itself.
- Try collar on dog, slipping other end of ribbon through open side of buckle from the back, and determine a comfortable folding point. Remove from buckle and refold; insert 3-inch pieces of iron-on hook-and-loop fastener between the layers, and iron to fuse.
- For leash, ”hem” ends of 80-inch ribbon with fusible tape. Fold one end into an 8-inch loop, and knot. Fold other end over by 4 inches; fuse hook-and-loop fastener between layers.
- To attach, open hook-and-loop fastener, wrap around center post of buckle, then refasten.
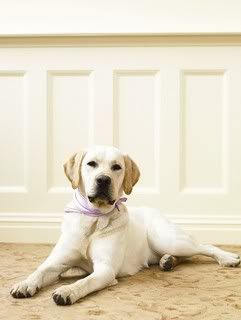
Of course, if you are not inclined to craftiness, you can always tie a little scarf around your dog's neck.
{all photos courtesy of Martha Stewart Weddings}
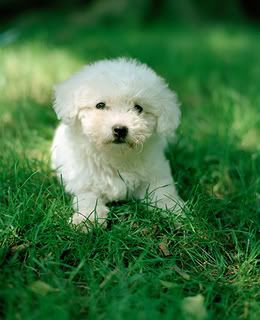
I love this whole story and the dogs are so cute, our only suggestion would be to include a Bichon in the next puppy line-up. The whole summer issue is packed with some really great ideas, and we hope you try one of these ideas for dressing up your dog!
{photo by Noah Sheldon}


1 comment:
This post is too cute! Thank you for mentioning Toast and Tables in the same "breath" as Martha Stewart. I'm to honored to be a friend of Faye and Greer.
Your #1 Fan,
Sarah
Post a Comment